Free Shipping On All Orders
Home Climbing Gym: The Definitive Guide 2024
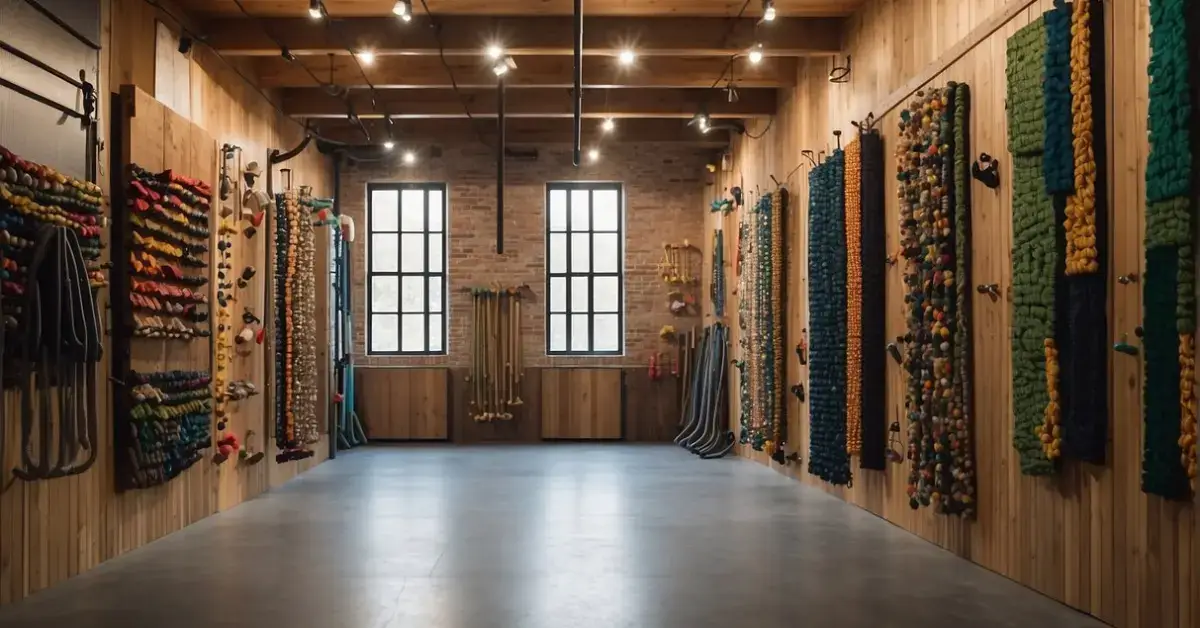
Welcome to the ultimate “Home Climbing Gym: The Definitive Guide 2024”. We’ll improve your fitness routine right from the comfort of your own space. Discover the ins and outs of creating your personal vertical playground and get ready to find new heights of fun and challenge with your very own home climbing gym.
Designing Your Home Climbing Gym
When planning our home climbing gym, we need to consider factors like the available space, wall types, and our budget to create a functional and enjoyable climbing environment.
Space Considerations
We must accurately assess the space available for our home climbing gym.
Whether we choose the garage, basement, or even an attic, the key dimensions to note are height, width, and depth. This will dictate the potential size of our home wall and ensure we don’t run into problems during installation.
- Vertical wall: Ideal for beginners and requires less space.
- Overhanging wall: Offers more challenge but needs extra room for safe use.
- Bouldering wall: Requires sufficient fall zone with adequate padding.
Wall Types and Angles

Choosing the type of wall and its angles will have a big impact on the difficulty and versatility of our climbing experience.
- Vertical walls: Great for slab climbing and endurance.
- Slight inclines: Mimic the feel of natural routes.
- Overhung walls: Train power and strength, but need more space.
We’ll also have to consider transitions between angles for variety.
Materials and Tools
To build a safe and sturdy home climbing wall, we need the right materials and tools.
Plywood is the go-to choice for sheathing due to its durability and ease of installation.
- T-nuts: For attaching holds to the wall.
- Screws: To secure the plywood to the frame.
- Circular saw: For cutting panels to the correct size.
Building a DIY climbing wall means we should have a basic understanding of these tools to ensure a successful project.
Aesthetic Elements
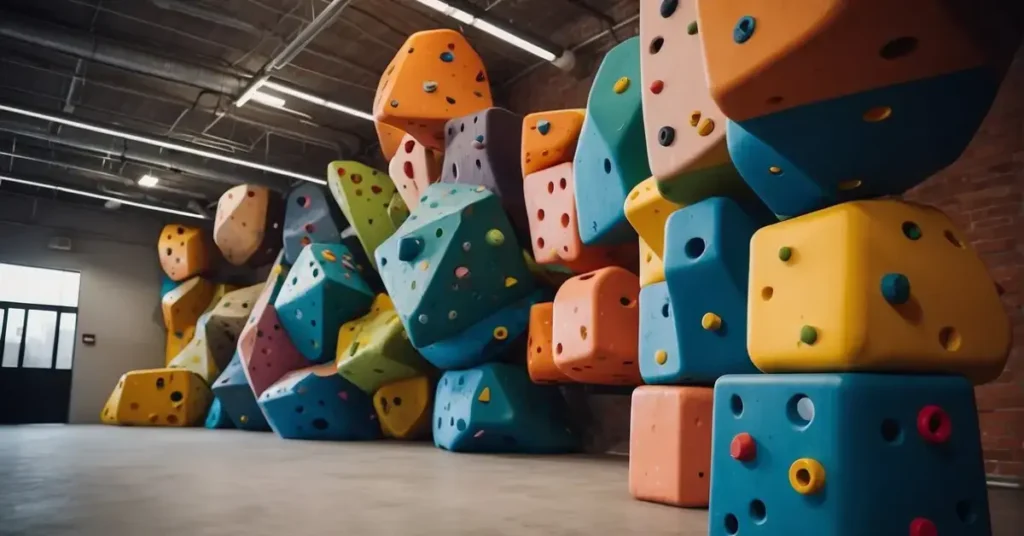
The aesthetics of our home bouldering wall can boost motivation and create an appealing climbing ambiance.
- Lighting: Critical for visibility and safety.
- Painting: Gives character and can delineate routes.
- Shapes and wooden holds: Enhance the wall’s visual appeal.
Safety and Maintenance
Regular maintenance is important to ensure our wall stays in good condition and safe for use.
- Check holds: Tighten them frequently and inspect for wear.
- Inspect framework: Look for structural integrity.
- Ventilation: Incorporate it to prevent moisture build-up.
We also need to maintain a clear fall zone and consider padding.
Project Planning and Cost
The cost of our home climbing gym can vary widely based on the design, material costs, and whether we’re going DIY or hiring professionals.
- Budget: Establishing it early guides material choices and project scope.
- Investment: A larger upfront cost can mean long-term savings in gym fees.
Our plan should allocate funds for all necessary components, remembering that good quality materials can save us money on future repairs and safety issues.
Setting Up and Optimizing
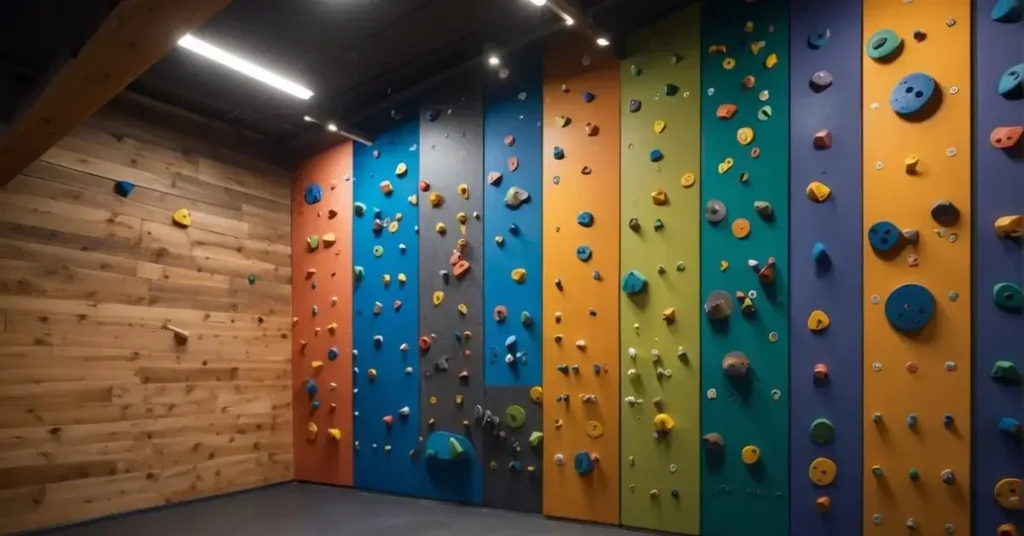
As we embark on the journey of building our home climbing gym, it’s crucial to understand the steps involved in installation, the significance of hold selection, and how route setting can aid in our progression as climbers.
Our objective is to create a space that not only challenges us but also allows for continuous training and improvement.
Installation Process
Firstly, we need to frame our wall adequately, ensuring it can support our climbing efforts securely.
During the installation, we anchor to the floor and walls, creating a solid base that mimics the outdoor climbing experience.
This step is essential—without proper framing, our efforts would be futile and potentially dangerous.
Hold Selection and Wall Texture

Choosing the right climbing wall holds is like selecting the correct tools for a job.
We must also consider the texture since it affects grip and can make or break the climbing experience.
Hold variety helps us improve grip, finger strength, and technique.
We’ll want a range of sizes and shapes to simulate different kinds of rock and challenge various grip positions.
Creating Routes and Challenges
Route-setting is where we get creative.
As we set our routes, we’re also setting our goals, from intricate boulder problems that test our technique to lengthy climbs that push our endurance.
The goal is to create challenges that are fun yet push us to grow stronger and more adept.
We use kilter to balance the routes, ensuring they cater to different levels of difficulty that match our intended use.
Training and Progression
Our home gym must evolve with us, which means regularly updating our climbing routes to reflect our training progression.
Whether focusing on slab footwork or overhang techniques, we can adjust the holds and routes to work on specific moves.
It’s a continuous cycle of assessment and adjustment, providing endless opportunities for improvement as climbers.
Special Considerations

When we set out to build our home climbing gym, it’s essential to consider the diversity of climbers who will use it and the unique characteristics of our chosen location. We also need to think about how we might want to enhance and expand our climbing space in the future.
Accommodating Different Climbers
Climbing walls are not one-size-fits-all.
It’s important for us to accommodate different skill levels, from kids just starting out to professional climbers.
Our home walls should have a variety of holds, such as jugs, crimps, and slopers, to cater to diverse abilities and to offer a broad range of movement patterns.
For instance, installing a hangboard can cater to advanced climbers focusing on finger strength during a lockdown.
Adapting to Various Locations
Our climbing gym can be indoors or outdoors.
If we opt for an outdoor wall in the garden, we must consider weatherproof materials to withstand the elements.
For an indoor climbing wall, the ceiling height and room layout will dictate the wall’s design.
It’s crucial that we consult an engineer or carpenter to ensure the structure supports the tension of climbing without damaging our home.
Enhancement and Expansion Options
Lastly, as our climbing skills develop, we might want to enhance our gym.
Starting with a starter kit can be a good option, as it often allows for easy integration of additional holds. A good addition might be some ropes, since they are easy to stow away.
It’s worth doing research on modular panels that could support future expansion, giving us the flexibility to add more climbing surface or features like volumes and overhangs as our needs grow.
A Home Climbing Gym can easily additioned by an indoor home playground for your kids!
FAQ
What materials do we need to get started?
To start building our home climbing gym, we’ll need panels (ACX plywood is common), climbing holds, a drill, T-nuts, and screws.
How do we ensure the climbing wall is safe?
We’ll double-check all fixtures are secure, the structure is stable, and there’s appropriate padding on the ground.
Can we make our climbing wall adjustable?
Yes, we can build an adjustable wall by using a hinge system at the base and adjustable supports so that we can change the angle of the climbing surface.
If you liked this blog post about building a home climbing gym, don’t forget to leave us a comment in the section down below and tell us about your experiences!


